Homemade Ginger Beer
Homemade ginger beer is the key ingredient to Moscow Mules, Mexican Mules, and is straight up refreshingly delicious on its own! Check out our step-by-step guide, plus all the tips and tricks for creating this spicy beverage at home!
To get the full aromatic flush and fizzy burn of fresh ginger, you have to make your own ginger beer. It is amazingly simple. There’s no sterilization needed, and this method is forgiving, so you can actually play with the levels and ingredients.
What is Ginger Beer?
Ginger beer is a fermented non-alcoholic beverage made simply from fresh ginger, sugar, water, lemon juice, and yeast. It is very similar to ginger ale, but with a more pronounced spicy “ginger” flavor, less carbonation, and my version is decidedly less sweet.
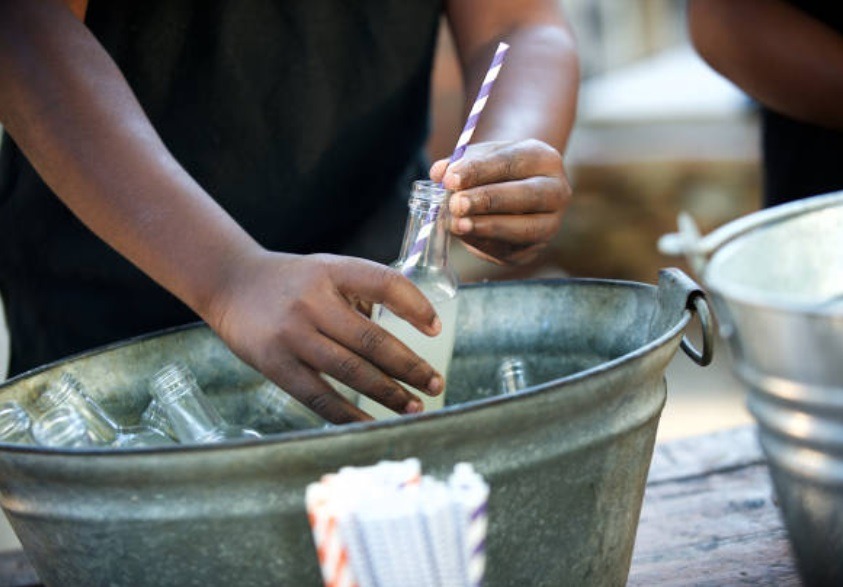
It has a cloudy, yellowish color and while fairly easy to make, it does require 2-3 days of fermentation, so budget accordingly.
Homemade ginger beer is the key ingredient in the very popular Moscow Mule cocktail and in our kicked-up version of that classic, the Mexican Mule. It also makes a refreshing non-alcoholic beverage served over ice with a twist of lemon or lime.
So let’s make homemade ginger beer
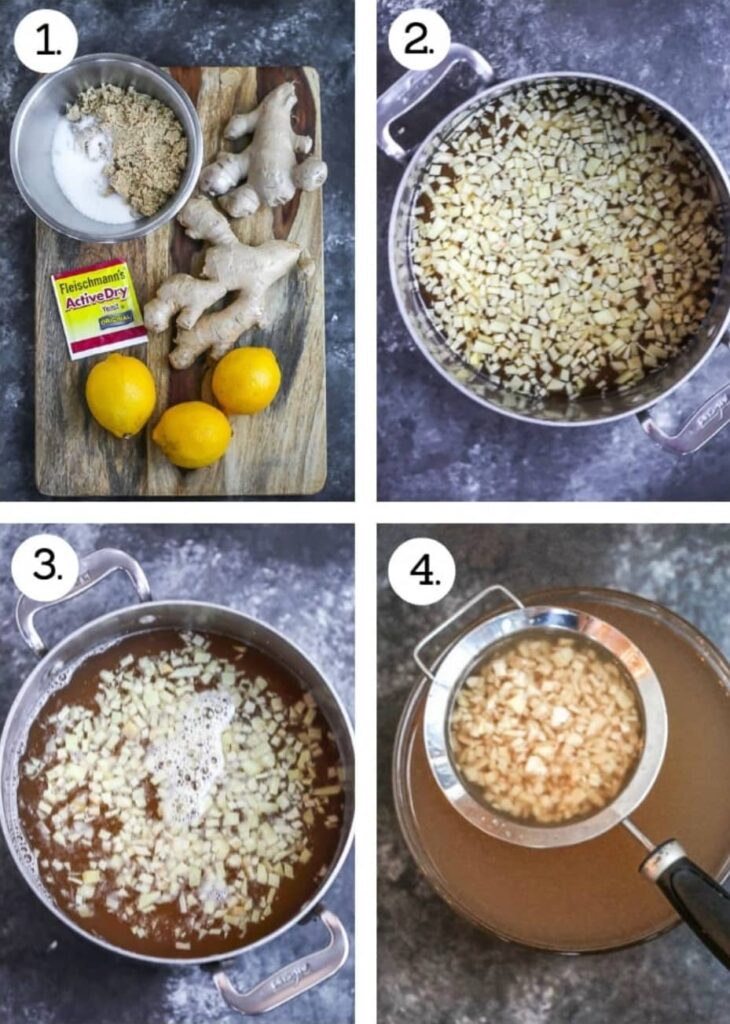
- Gather ingredients for homemade ginger beer including ginger, lemons, brown sugar, white sugar, and yeast.
- Combine 1 qt of water, sugars, minced ginger and a pinch of salt in a saucepan.
- Bring to a boil and stir until the sugars are dissolved. Turn off the heat and stir in the lemon juice and the remaining quart of water. Let stand for 2-3 hours. Place in the refrigerator and cool to 70 degrees F.
- Use a fine mesh straining and strain into a clean bowl.
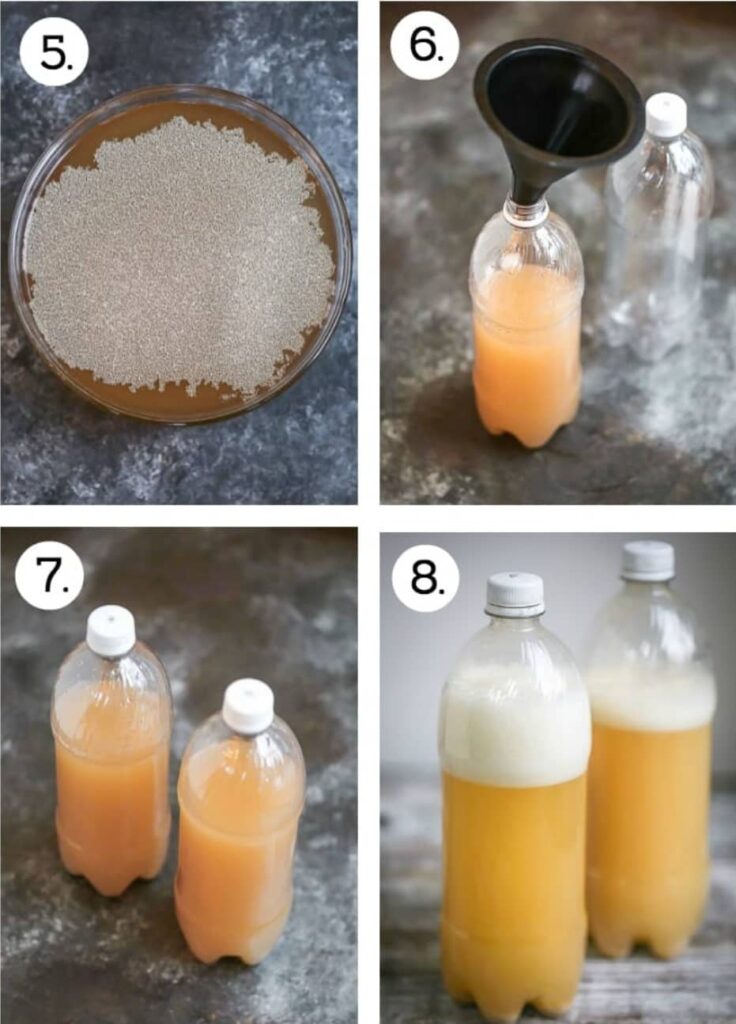
- Stir in the active dry yeast.
- Use a funnel and pour into a 2-liter bottle or 2-liter bottle, leaving an inch or two of room at the top. Screw the cap on tight and let it stand at room temperature.
- Over the course of the next 2-3 days, occasionally loosen the cap VERY SLOWLY to release the pressure.
- Once the ginger beer has fermented, release the pressure once again and store in the refrigerator for up to a week.
Tips for success
- Choose ginger that has smooth, taut skin that isn’t wrinkled or moldy.
- Don’t boil or simmer the ginger/water mixture for very long. You just want to cook it until the sugars are dissolved. Encourage this by whisking the mixture well.
- Emptied and rinsed plastic soda bottles are a great way to store your ginger beer.
- When you strain the ginger, press on the solids to really squeeze out all of that ginger flavor.
- Store the strained ginger beer in plastic bottles at a cool room temperature out of direct sunlight. Be sure to leave space at the top so they don’t bubble over when you release the pressure.
- Release the pressure from the ginger beer about 4 times per day as they ferment. Loosen the top VERY SLOWLY as the yeast will cause it to bubble and foam. Unscrew the tops as slow as possible and listen for the air being released.
- Store the ginger beer in the refrigerator, which will impede the fermentation process. You still need to be careful as you open the bottle. The ginger beer will keep for about a week.

Ginger 101
Here are a few interesting facts about our knobby friend.
- Ginger is a natural remedy for nausea and indigestion while promoting good digestive health. It is also a natural anti-inflammatory and packed full of antioxidants.
- Choose ginger that has smooth, unwrinkled skin. It should be free of mold and smell of fresh and bright when you snap it. Store your ginger in the refrigerator or the freezer.
- Don’t want a giant piece when you’re at the market? Simply break off what you need. And so it’s an unspoken rule of thumb and totally acceptable.
- Ginger can be peeled easily with a small paring knife or the peel can be scraped off with the edge of a spoon.
- Ginger (or ginger root) is actually not a root at all, but a rhizome, the subterranean main stem of a plant.